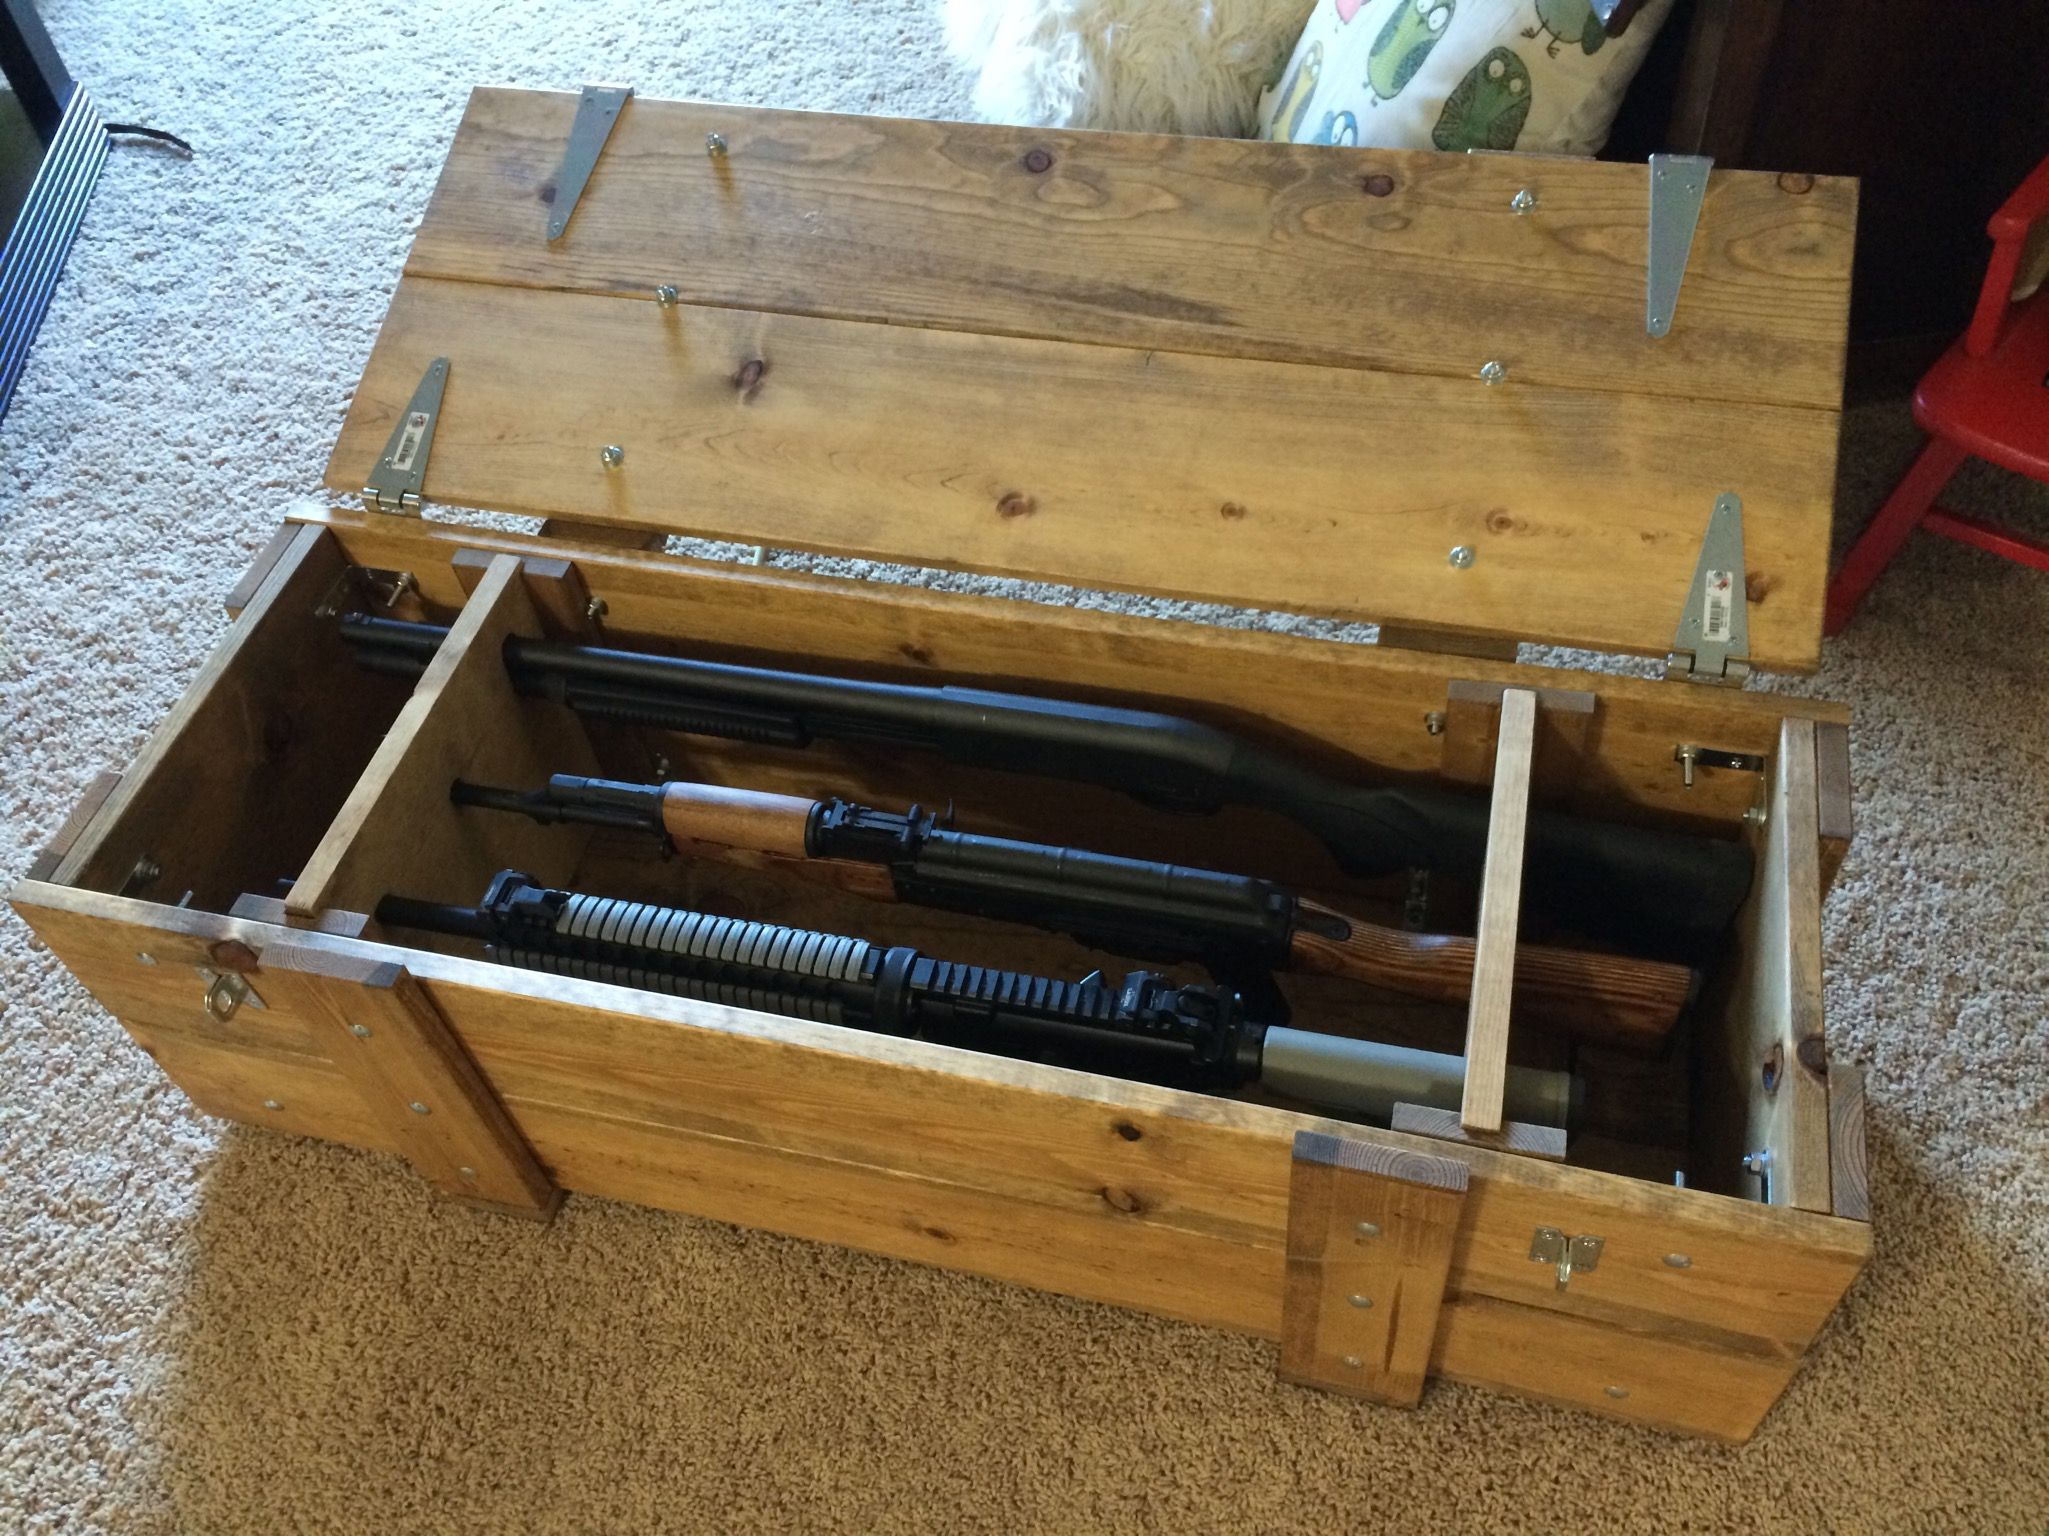
A firearm's primary purpose is safety and protection, a concept that extends beyond its intended use. Safeguarding firearms from unauthorized access and potential misuse is paramount. While commercial gun safes offer robust protection, a DIY wooden gun box can be a practical and cost-effective alternative, offering a personalized solution for storage. This guide will delve into the process of constructing a secure wooden gun box, emphasizing the importance of safety, functionality, and durability.
I. Design and Planning
A. Purpose and Size:
Before embarking on construction, clearly define the purpose and intended contents of the gun box. This will dictate the dimensions, features, and level of security. Consider:
Number of firearms: Determine the box's capacity based on the number of firearms you wish to store.
Type of firearms: Ensure the box provides sufficient space for the length, width, and weight of your firearms.
Accessories: Allocate space for firearm accessories like scopes, magazines, and cleaning tools.
B. Material Selection:
Choosing the right materials is crucial for both aesthetics and security. Consider:
Wood type: Hardwood species like oak, maple, and walnut are durable and aesthetically pleasing. Softwoods like pine or cedar offer a budget-friendly option, but might require additional reinforcement.
Thickness: The thickness of the wood determines its strength and resistance to prying. A minimum thickness of ¾†is recommended for the sides, bottom, and top.
Joinery: Robust joinery, like mortise and tenon, dovetail, or biscuit joints, ensures strength and longevity. Avoid weak joints like simple butt joints, which are easily compromised.
Hardware: Select high-quality hinges, locks, and fasteners. Look for heavy-duty, tamper-resistant hardware.
C. Security Features:
Locking Mechanism: A robust locking mechanism is essential for preventing unauthorized access. Consider:
Padlocks: Provide a cost-effective solution with various levels of security. Opt for hardened steel, keyed alike padlocks for consistency.
Keyed locks: Offer more security with a key-operated locking system. Select locks with hardened steel pins and multiple locking points.
Combination locks: Provide an alternative to key-operated locks. Select reputable brands with robust construction and multiple digit combinations.
Interior Lining:
Felt or carpet: Provides a soft lining to protect the finish of your firearms.
Foam: Custom-cut foam inserts can precisely fit your firearms, providing additional protection and organization.
Concealed Compartments:
False bottom: Create a concealed compartment within the box for storing valuable accessories or ammunition.
II. Construction:
A. Cutting and Shaping:
1. Measure and mark: Accurately measure and mark the wood according to your design plans.
2. Cutting: Use a table saw, circular saw, or jigsaw to accurately cut the wood into the required dimensions. Ensure clean, straight cuts.
3. Shaping: If desired, shape the edges and corners using a router, hand plane, or sandpaper. This adds aesthetic appeal and can improve the box’s overall strength.
B. Assembly:
1. Joinery: Use selected joinery techniques to assemble the box’s frame.
2. Glue and clamps: Apply wood glue to all joint surfaces and secure the pieces with clamps until the glue dries completely.
3. Fasteners: Use screws or nails to reinforce the joints and add additional security.
C. Hardware Installation:
1. Hinges: Install the hinges securely on the box's lid, ensuring smooth and reliable opening and closing.
2. Locks: Position and install the locking mechanism(s), ensuring proper alignment and secure placement.
3. Interior lining: Cut and install the chosen interior lining, using adhesive to secure it to the box's interior.
III. Finishing:
A. Sanding:
1. Initial sanding: Smooth out any rough edges and remove any imperfections with a coarse-grit sandpaper.
2. Final sanding: Progress to finer grits to achieve a smooth, even finish, enhancing both aesthetics and durability.
B. Stain and Finish:
1. Stain: Apply a stain to enhance the wood’s natural beauty or create a desired color.
2. Finish: Apply a protective finish, like varnish, polyurethane, or shellac, to protect the wood from moisture, dirt, and scratches. Multiple coats enhance durability and add a high-quality look.
IV. Safety Considerations:
Firearm Safety Rules: Always follow proper firearm safety rules while working on the gun box.
Storage Practices: Store your firearms unloaded and securely within the box when not in use.
Child Safety: Ensure the box's locking mechanism is robust and accessible only to authorized individuals.
Secure Storage: Store the gun box in a secure location inaccessible to unauthorized individuals.
V. Advanced Features:
Secure Internal Compartments: Create hidden compartments within the box using a false bottom or side panels.
Metal Reinforcement: Add metal plates to the interior or exterior for extra security.
Electronic Security: Consider incorporating electronic security measures like alarm systems or biometric locks.
VI. Conclusion:
A DIY wooden gun box offers a personalized, secure, and often cost-effective alternative to commercial gun safes. Following these guidelines allows you to create a functional and durable storage solution for your firearms. Remember, safety should always be paramount. Prioritize robust construction, secure locking mechanisms, and responsible storage practices to ensure the secure and safe storage of your firearms.


No comments:
Post a Comment
Note: Only a member of this blog may post a comment.