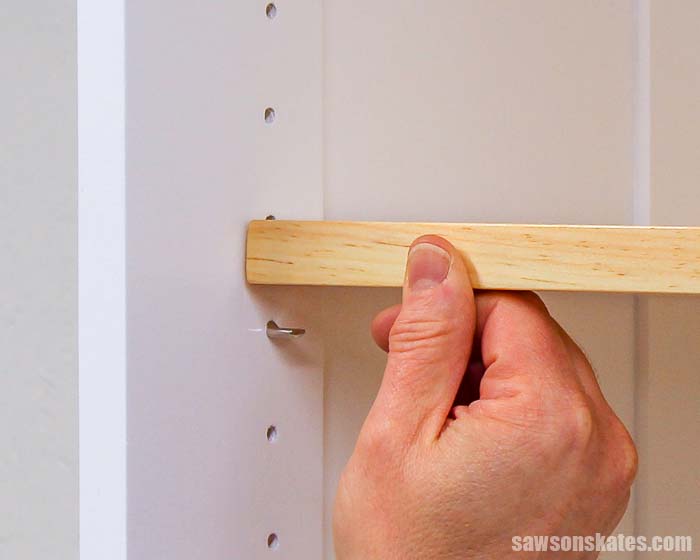
How to Make Wall Shelves with Adjustable Height for Flexibility
Imagine a wall that seamlessly adapts to your ever-changing needs. Wall shelves with adjustable height offer the perfect solution, allowing you to create a personalized storage system that can evolve alongside your lifestyle. This project blends practicality and style, empowering you to transform your space into a well-organized haven. Let's embark on this DIY adventure together!
Materials and Tools
Before diving into the construction, gather your essential tools and materials. This comprehensive list ensures you're well-equipped for the project:
- Wooden boards (choose your preferred wood type and thickness for the shelves)
- Metal brackets (select brackets with adjustable height features)
- Screws (ensure they are appropriate for the wood and brackets)
- Level
- Measuring tape
- Pencil
- Drill with drill bits
- Saw (for cutting the wooden boards to your desired lengths)
- Sandpaper (for smoothing any rough edges)
- Wood stain or paint (optional, for adding a decorative touch)
Steps to Building Adjustable Wall Shelves
Now, let's get our hands dirty and build those versatile shelves. Follow these detailed steps:
1. Determine Shelf Placement and Size
Start by visualizing the ideal placement of your shelves. Consider the items you want to store, the available wall space, and the overall aesthetics of your room. Measure the desired width and depth of each shelf. Note that the width should correspond to the chosen brackets. Remember to factor in the thickness of the wooden board when calculating the overall height.
2. Cut the Wooden Boards
Utilizing your saw, carefully cut the wooden boards to the measured lengths for each shelf. Remember to cut a few inches longer than the desired width to allow for overhang and better support. After cutting, use sandpaper to smoothen any rough edges, ensuring a polished look.
3. Mark and Attach Brackets
With a pencil, mark the desired locations for the brackets on the wall. Ensure they are level using a spirit level. Drill pilot holes at the marked spots to prevent wood splitting when attaching the brackets with screws. Secure the brackets firmly to the wall, making sure they are well-supported.
4. Install Shelves and Adjust Height
Slide the shelves onto the brackets, making sure they are positioned securely. Adjust the height of each shelf by moving the brackets up or down. This flexibility allows you to accommodate different sized items, creating a custom storage solution.
5. Finishing Touches
Once the shelves are in place, you can personalize their appearance with a wood stain or paint. Choose colors that complement your existing décor and elevate the overall aesthetic of your space. Allow the stain or paint to dry completely before adding your cherished possessions to the shelves.
Tips for Success
Here are a few handy tips to ensure your adjustable wall shelf project is a resounding success:
- Select sturdy brackets that can support the weight of your belongings.
- Double-check measurements to guarantee a perfect fit for your shelves.
- Choose a wood type that complements your room's style and durability needs.
- Consider adding a back panel to the shelves for a more polished look.
- Use protective gear, such as gloves and safety glasses, during the project.
Conclusion
Congratulations! You have successfully created adjustable wall shelves that are not only functional but also visually appealing. These shelves are a testament to your DIY prowess and offer endless possibilities for organizing and displaying your prized possessions. Now, enjoy the flexibility and style of your newly crafted storage solution!


No comments:
Post a Comment
Note: Only a member of this blog may post a comment.